Here is my attempt at a quick little tutorial.
Start by opening the picture you would like to convert to sepia. It is always a good idea to make a copy of the picture before you start changing it so that you can keep your original. I use [cntrl J] to make a copy. With the copy layer selected, convert it to Black and white. To do this you will click the Enhance menu at the top of your screen
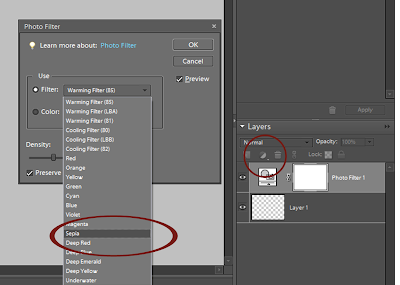
With that layer selected, click on the circle above your layers pallet that is half white and half black. Select Phot Filter. See the screen shot below.
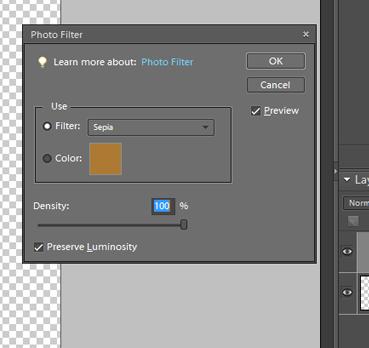
When the photo filter menu opens click on the drop down menu and select Sepia.
Then adjust the density 100%. Viola! You have a sepia photo. Save a copy of the pic and you are ready to add it to any layout!
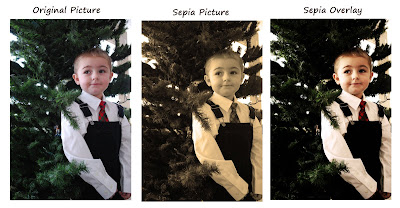
Here is a pic I did this technique on.
To get the sepia overlay look I skipped the step to make the pic black and white. I made a copy, made that copy sepia toned, and then made that layer an overlay. I love this look! It can add so much to the right picture. Clear as mud, right?
Try this technique and let me know if you have any questions! Thanks!
No comments:
Post a Comment